
by Alexander Frolov , updated on November 7, 2023
This article will guide you through the process of creating Outlook email templates with attachments, allowing you to breeze through your emails with ease and efficiency.
Picture this: You're swamped with work, and typing out the same email content over and over again feels like a never-ending chore. Well, the good news is that Outlook has your back with its wonderful feature - email templates with attachments.
Here's the deal: These templates are like your secret weapon for efficient communication. They let you create reusable email drafts that already include the files you need to send. So, whether you're sending project updates, client proposals, or event invitations, you can focus on what matters most without the email hassle.
Creating an email template in Outlook with attachments is easy. Just follow these steps:

Using custom forms in Outlook is considered an advanced technique primarily aimed at professionals. However, for our purposes, we can achieve our goal by utilizing a standard form instead of designing a new one. Rest assured, it's a simpler approach that will meet our needs perfectly. So, let's dive in together as I guide you through the step-by-step process.
Begin by enabling the Developer tab, which is not visible in Outlook by default. To enable it, right-click on the ribbon, select Customize the Ribbon. Under the list of Main Tabs on the right side of the Customize the Ribbon dialog box, check the box next to Developer and click OK.
And now, follow the steps below to add an attachment to an email template:


In the Choose Form dialog box, ensure that the Look In field displays the Standard Forms Library option. Select Message as the form type and click Open.

 template with attachments in Outlook." width="705" height="516" />
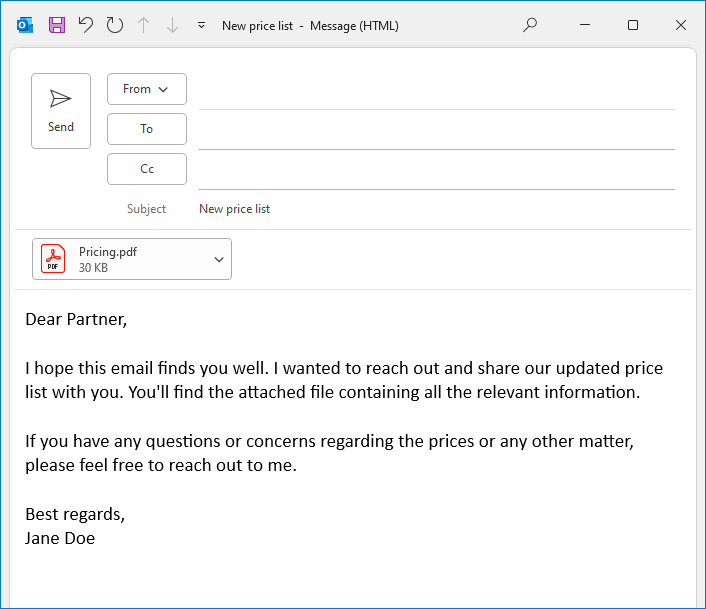
Once you have composed your email and attached the files, it's time to save the template. To save an email template with attachments in Outlook, click on the File tab and select Save As. Provide a descriptive name for your template and select Outlook Template (*.oft) as the file type. Click the Save button to finalize the process. Important note! Do not change the default destination folder where email templates are saved:
C:\Users\UserName\AppData\Roaming\Microsoft\Templates
To add attachment to an existing email template in Outlook, follow these steps:
By following these steps, you can quickly modify any existing email template to include attachments of your choice. This allows you to personalize your Outlook templates with relevant files, making them ready to use whenever you need to send emails with attachments.
Unfortunately, using the built-in email templates in Outlook is not as convenient as we would like it to be, requiring a deep dive into the menus and options.
To open your Outlook email template with attachment, this is what you need to do:
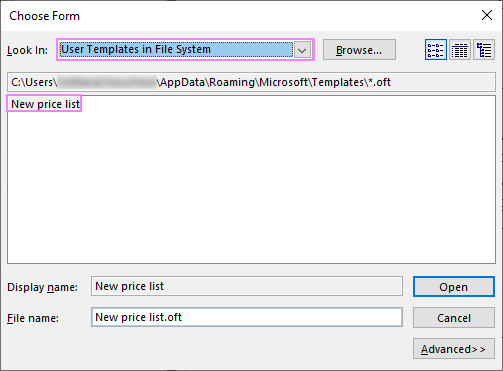 template with attachments in Outlook." width="503" height="371" />
The email composition window will now populate with the content, including the attachments, from your selected template. From here, you can modify the email as needed, add recipients, and send the email as usual.
Tip. To streamline the process further, you can pin template to task bar or create desktop shortcut as explained in the above-linked tutorial.
Now that you have learned how to create a template email with an attachment in Outlook using the standard means, let's explore an even faster and more convenient method: Shared Email Templates. Unlike the scattered all around the interface functionality of the built-in Outlook templates, Shared Email Templates brings all the features directly into the message window, so you can perform all manipulations within a single pane.
Here are 4 easy steps to create an Outlook template with attachment:
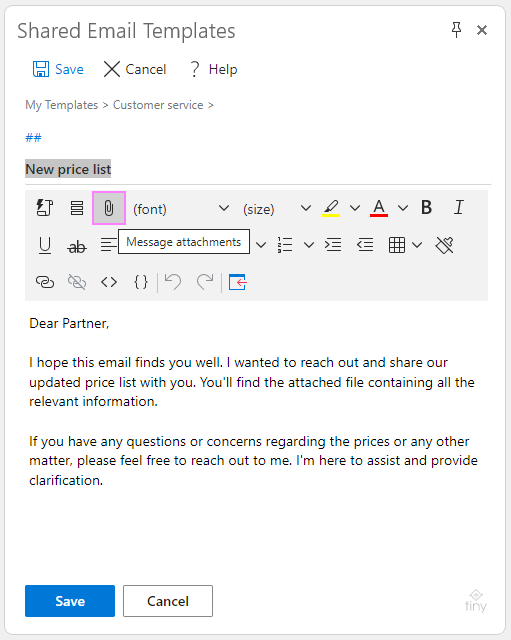

Choose the location of your target files: OneDrive, SharePoint, or URL.
 you wish to attach." width="511" height="640" />
Select the file you wish to attach.
To insert your template with attachment into a message, simply click the Paste button next to it.
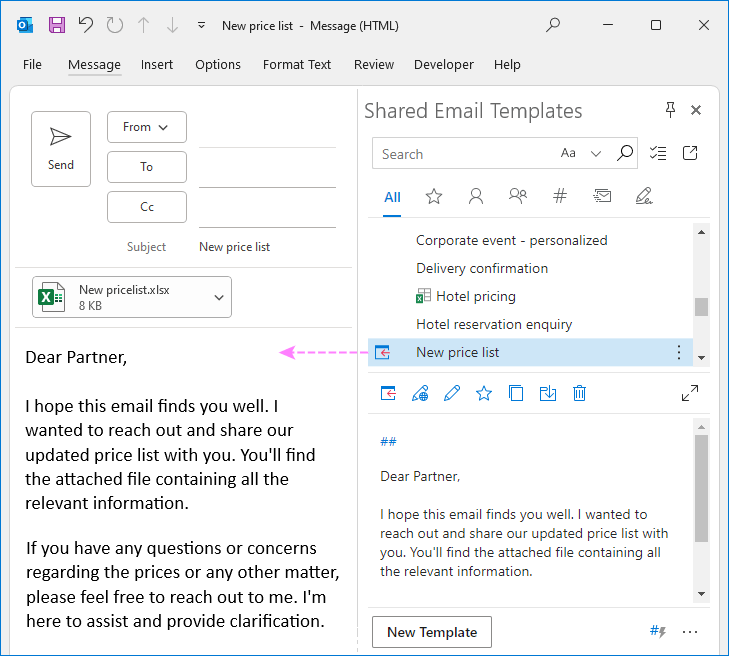 template with attachments into a message." width="729" height="656" />
That's it! With a single click, you have a fully prepped email ready to go. No more wracking your brain for the right words or searching for those elusive files to attach. Everything you need is right here in your template, waiting to be customized and sent off.
Tip. With Shared Email Templates you can also add personalized attachments selected individually for a particular recipient or based on the content of your personalized template.
Ready to give it a try? Download the free version of Shared Email Templates on Microsoft AppSource and unlock a time-saving solution for creating all kinds of templates in Outlook.